This guide assumes a faulty (blown or broken) flash bulb.
Before you start this, do not do this.
Flashes are dangerous.
For a flash to fire, a very high voltage is required. This voltage is stored on a capacitor inside the flash, charged up by much lower-voltage batteries. Removing these batteries will not remove the charge in the capacitor. Do not assume that 6v of battery power means a flash is a low voltage item. It is not. The charge required to make the flash fire is lethal.
If you do not know how to handle and safely discharge a high voltage electrical device, DO NOT PROCEED as you could get seriously injured or killed.
You will need:
-Canon part CY2-4229 flash tube/reflector assembly. I’ve seen them for sale online in America. Canon UK would not sell me a spare part directly. I bought mine from a Canon authorised service centre in the UK.
-Small slot screwdriver
-PH00 Phillips screwdriver
-Soldering iron with a fine tip + solder
-Soft-headed, delicate grips or tweezers
Before you start, remove the batteries from the flash.
Do not open up the flash head until you have discharged the capacitor as below.
Again, if you are not certain that you know what you are doing and how to discharge the capacitor first, DO NOT DO THIS, send it to Canon to fix instead.
1) Either side of the 580EX-ii’s head is a rubber strip. These strips are fixed to the plastic body with sticky stuff. Carefully insert a slot screwdriver underneath each rubber strip and peel it back. Place the strips somewhere, with the sticky side facing up. You’ll need to reuse these when you’re done.
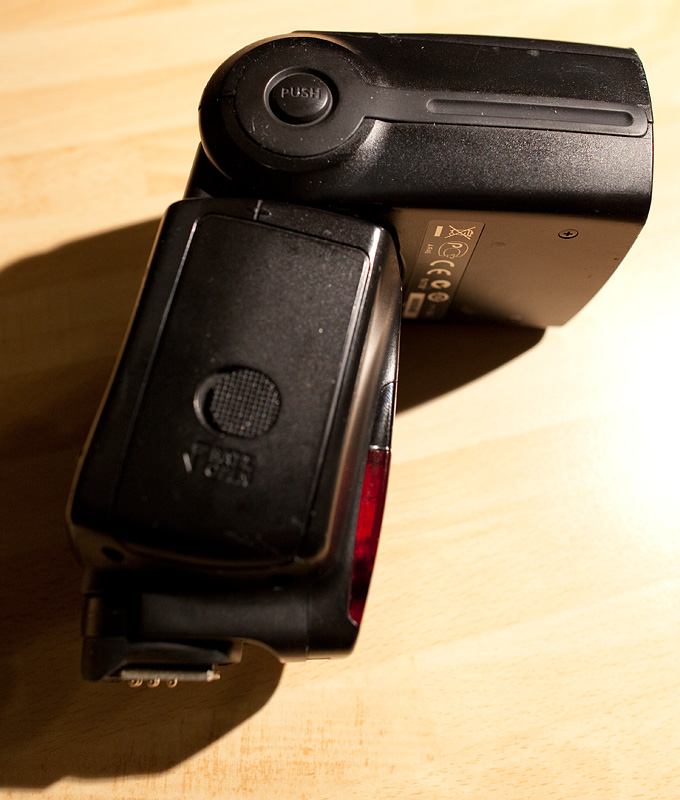
2) NOW DISCHARGE THE FLASH’S CAPACITOR BY FOLLOWING THE INSTRUCTIONS IN THIS VIDEO (credit to Darin Pointer):
If the video does not play on the page, try this link:
http://www.youtube.com/watch?v=0mgpbD0IFvw
If you don’t understand what is being said and done in this video, do not proceed: send the flash back to Canon instead. If you don’t discharge the flash’s capacitor, you risk a serious – potentially lethal – electric shock.
3)Â On both sides of the flash head, beneath the rubbery strips, you will find small Phillips screws around where the head hinges. There are two further screws on the front cover of the flash head. Use a PH00 screwdriver to remove all these screws and then carefully remove the front cover of the head.
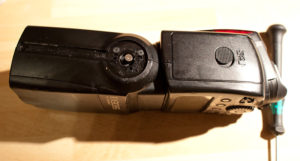
4) Slide out the plastic lens from the top of the flash head, being careful not to lose the weather-sealing gasket that goes around it.
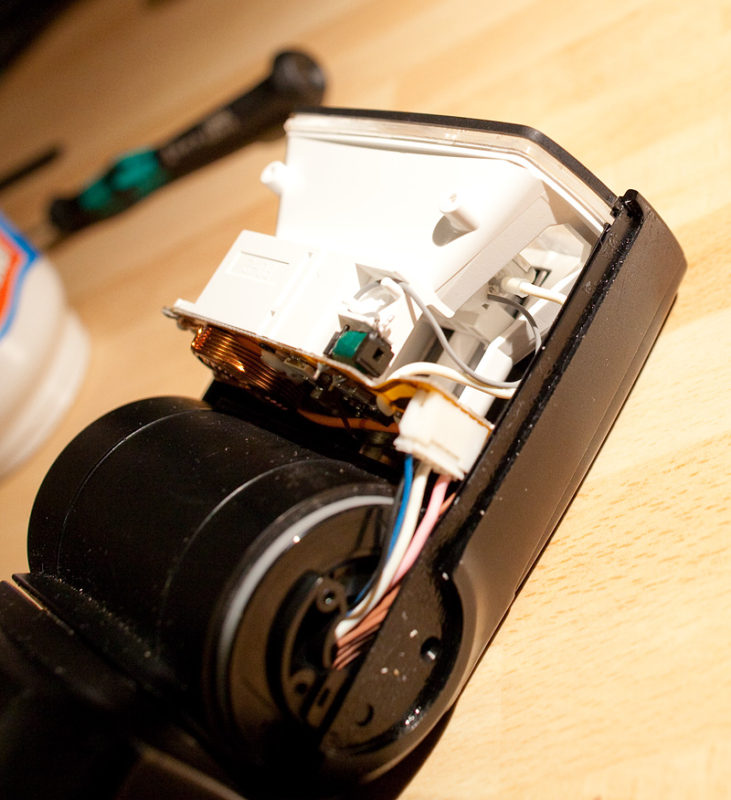
5) The flash bulb, reflector, focusing motor and PCB which includes the high-voltage capacitor are built in to a single, white plastic assembly which I’ll refer to as the “flash assembly”. This is mounted to the back of the flash head by two small screws on either side. Remove these screws.
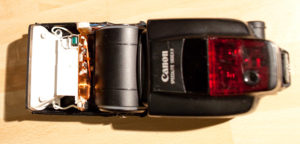
6) The assembly is attached to the flash body by wires at four separate points. These wires are just the right length and no longer. Carefully lift the flash assembly away from the back of the flash head’s body a little. Use a small, slot screwdriver and/or delicate grips to remove the two plug-in wiring looms on the side. Be careful: the PCB around the sockets is not solid but flexible and you don’t want to break any of the contacts or printed circuit that run from the sockets to the rest of the PCB, or damage the plugs and sockets themselves.
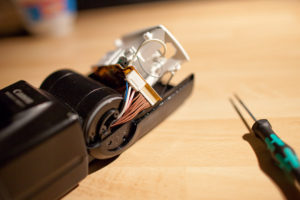
7) With the two small wire looms disconnected, you can further lift up the flash assembly a little. Don’t force it – it is still attached by short connectors. Note the single grey wire taped to the underside of the flash assembly, that runs along a groove in the plastic to the front top of the flash head. Carefully prize this free from its track, along with the tape. You need to be careful as the flash assembly is still connected by another delicate connector, underneath.
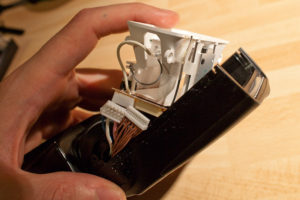
8) This other delicate connector runs underneath the flash assembly to a mount point near the front and centre of the PCB on the flash assembly. This should be carefully teased away from its mounting point using soft-headed grips or tweezers with rubber tips.
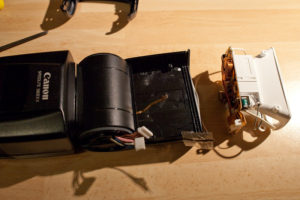
9) The flash assembly is now disconnected and can be removed from the flash head. Next you must remove the faulty flash bulb from the flash assembly.
10) The flash bulb is soldered to the PCB at three points. Desolder it at these three points, being careful not to damage the PCB. The two, thicker, white wires that run from the flash bulb first pass through holes in the PCB from the top side of the flash, to be fixed to the underside. Sliding some slack through the hole first will make the job of desoldering these two wires easier.
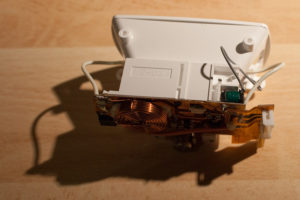
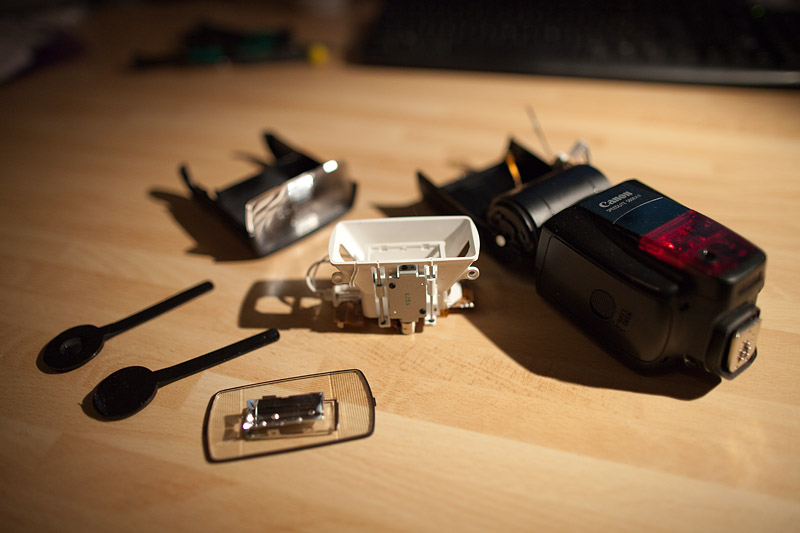
11) The replacement flash component I ordered is a CY2-4229. This is the flash bulb, pre-mounted on a small plastic tray, with a metal reflector at the back and a clear plastic screen at the front. Take care when handling this. Do not get fingerprints, grease or dirt on the surface of the screen. This replacement component mounts to the flash assembly along two runners and is driven back and forth along those runners by a small motor. This is how the flash’s focus distance is adjusted.
12) At the base of the flash assembly, the two runners are fixed in place by two small, black circlips. Carefully remove these circlips. I used a small slot screwdriver and prized them away slowly. I did this inside a container so that these small, sprung components wouldn’t fly away and get lost.
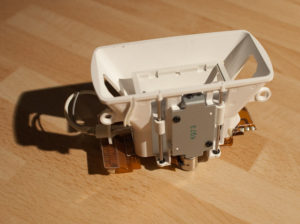
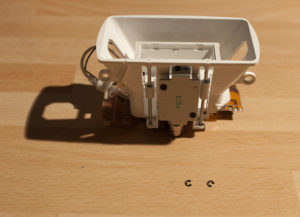
13) With the circlips removed, pull the two runners down and clear of the faulty flash component. You will note that, as well as being mounted on the two runners, the flash component is seated on to a small peg attached to the focusing motor. The new flash component will need to sit in the same way before the runners are reinserted.
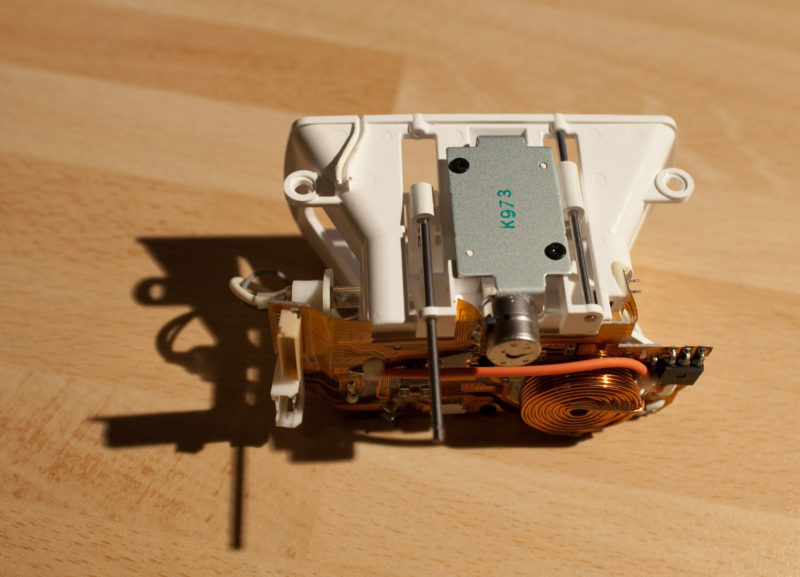
14) This is the new flash component, complete with bulb and reflector, ready to be fitted.
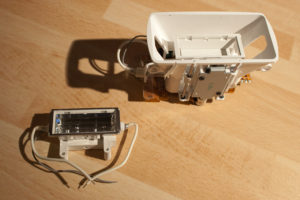
15) Here lies the cause of my flash’s failure. Now you must reverse the process to fix the flash.
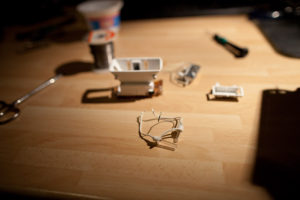
16) Mount the new flash component: first sit in on the peg correctly, then slide the two runners back in to place.
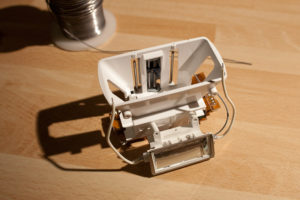
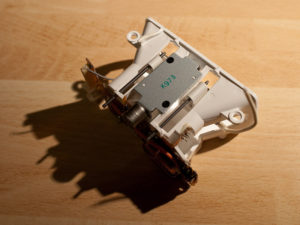
17) Reattach the two circlips to fix the runners in place.
18) Solder the three connections from the new flash component as those from the old component. Remember to route the wires in the same way. These are high voltage connections so be careful to ensure good, clean contacts. Watch for the large coil that’s soldered to the PCB next to one of the flash bulb’s solder points as, with too much heat from the iron on the adjoining connection, this can come away.
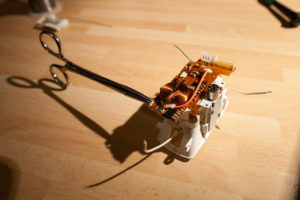
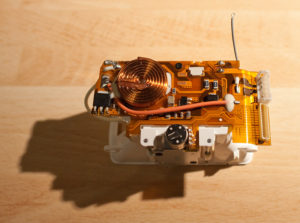
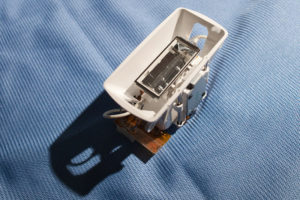
19) Reattach the flash assembly to all connections by reversing the order in which the connections were removed. Ensure that all connections are pushed securely home and that the wires have no twists in them and are not pinched or trapped anywhere.

20) Screw the flash assembly back to the inside of the flash head with two screws. Double check that all wires have been correctly seated and that they are not squeezed, pinched or trapped anywhere, especially near the hinge. Check this by carefully rotating and swivelling the flash head, being careful not to get your fingers sticky.
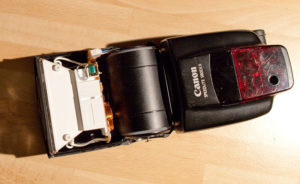
21) Double-check you haven’t got any dirt or fingerprints on the plastic at the front of the new flash component. If you have, use a clean and dry lens polishing cloth to clean it away.
22) Give the flash lens a polish on the front and back before reseating it in front of the new flash component. The weather sealing gasket that surrounds this lens has a couple of notches that stick out a tiny bit and match notches in the plastic body of the flash head – match these up tightly when sliding the lens and gasket back in to place.

23) Slide the front cover of the flash head back in to place. Ensure this is perfectly aligned. The notches in the flash lens’ gasket should fit perfectly between the two halves of the flash head casing and, with a gentle squeeze together, the two halves of the flash head casing should be perfectly flush, with no wires from the inside pinched or caught anywhere.
24) Reaffix the remaining screws on the outside of the flash head.

25) At this point it’s worth testing the flash to ensure the repair’s been successful. Assuming it has been, reaffix the two, still sticky, rubbery strips either side of the flash head. Remember to use the strip with the PUSH button cover on the correct side and to ensure it fits correctly over the release button underneath it.
26) If, upon testing, you discover the repair didn’t work and you need to go back inside the flash head then, having just recharged the capacitor to test the flash, you MUST be careful to remove the batteries and discharge the capacitor (as stage 2, above) again, else you will once again risk a potentially lethal electric shock.
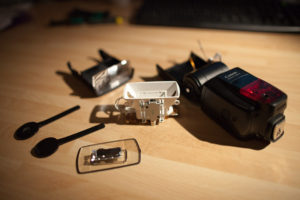
Flash bulb repair on Canon 580EX-II


thanks, your manual help me to repair my flash canon 580 ex ii
this is a great post. I will be doing my replacement in a couple of days. By the way, was wondering if you have any insight on how to do RF mod to reduce the RF noise on 580EX II, so that it works better with PocketWizard TT5.
SALVE DOPO FATTO TUTTO CIO. LA POTENZA DELLA LAMPADA E SUPERIORE NON E CALIBRATA COME LA VECCHIA LAMPADA QUALKE SPIEGAZIONE A RIGUARDO GRZ
Afraid I have no idea about RF interference. Sorry.
I too like to know this, as my flash stopped working right in the middles of my photoset.
Let me tell you, the boys were not to happy at getting dressed as I couldn’t complete my work.
I have now fixed my flashes, thanks to your instructions and will be shooting the boys again soon.
Wow. I have not electric abilities I’m sending my unit to Canon your post is really valuable…
I did it! Now my flash works like a charm. Thanks man for your great, detailful post!
Hi Joel,
I just wanted to first say thanks for posting your chronicle of the repair process for the 580ex II flashtube replacement.
It was very helpful.
I did want to ask if you know of a simpler method to replace only the flashtube itself and not the entire assembly with reflector piece.
I have seen just the flashtubes for sale,
and I would like know if you have knowledge / experience or have attempted
replacing only the flashtube itself by opening the flashtube assembly without removing the entire chunk from the flash.
If you know if it is possible, that would be greatly appreciated.
(like if the front could be opened and new flashtube popped in)
Thank you